HAVE BOTH (animation shop) AS and PSP (paint shop pro) OPEN
save some glitters somewhere easy to access, you can find some glitters here
http://www.blackheartedwolf.com/glitter.htm
Go into Animation Shop, and click on file menu then browse ...
look for the glitter you need and click on it ...
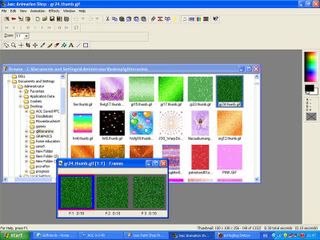
still in AS
go into edit menu up top then click on select all
then back up to the edit menu and click copy ...
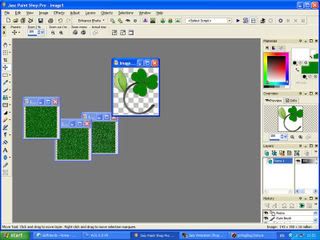
GO INTO PSP
And anywhere on the blank area in middle right click your mouse .... chose paste animation as multiple images. You will find the three (or more) layers of your glitter have appeared on your screen.
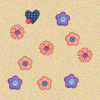
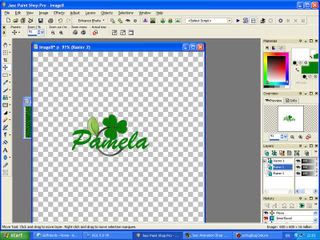
Meanwhile select an image if you are using on ... for this example I have used a transparent PNG which in this case is a shamrock. I like working with transparent pngs ... its my personal preference)
Now go into your file menu and click new
here are the settings that I use ...
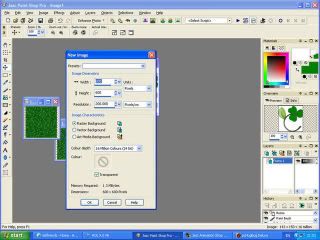
size 600 x 600 resolution 200, raster and transparent background
click okay and we are ready to rock and roll.
Copy your clip art image and paste as a new layer onto your blank canvas .... I had previously resized my shamrock graphic to around 150 pixels tall at 200 resolution - that is your personal preference.
So now you have this ....

click on your text selection box on the left hand side - its got the letter A on it. Chose your text size and colour and place it on or near your shamrock.
I have used brush script here at 72, colour green!
Dont worry about the colour being flat here I am going to introduce a new technique to you ....
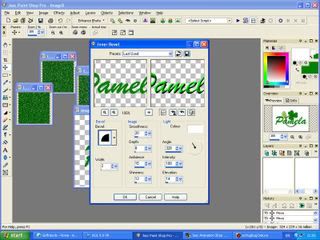
Now using your crop function trim your image down so there is small space all around ...
once you have cropped use your selection tool and click on your name ... the selection tool is the cross shaped arrow thing about third down on the left hand side. just click on the name - it wont do anything but you will see on the next stage why ....
go into Effects menu .... 3d effects, then click on inner bevel ...
use the settings I have here just so we are doing the same thing BUT it doesn't matter after this tutorial what you do ...
If you like a shadow you can add one too but please don't at this stage till you learn how to make this.
now you have your name in 3d and the shamrock flat ...
this is where we start to add glitter
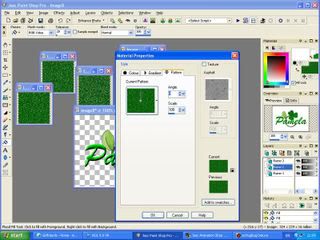
use the little selection tool like earlier and click on the shamrock ... make sure the shamrock is still behind the name ...
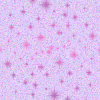
now click on the bucket fill on the left hand side, is 14 icons down I think .... then click on the materials on the right hand side material properties will pop up then you can click on the patern tab ...
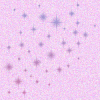
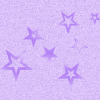
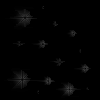
if you look down it you will see your three glitter files, select the first glitter file - click ok.
now take your bucket and either right or left click (depending which contains your glitter) your mouse over the leaves of the shamrock to fill it. You may have to click two or three times till the are is covered with your first glitter layer.
Now SAVE this as a PNG file (very important) call it 1
once saved use your back arrow to get you back to the bit just before you glittered ... dont go too far back otherwise it wont work when you come to animate.
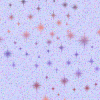
Follow the step where you click on the material properties and select the 2nd glitter file .... save as PNG 2
and again back and do it for the 3rd glitter ...
you will with a bit of luck have 3 png files saved.
NOW INTO AS
Close all the stuff in AS you have open from your previous glitter search ...
look just below the file menu - there is a little icon that looks like a film strip ...
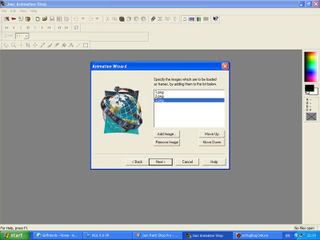
click on it - it is your animation wozard and will take you through the next few steps ..really easy.
first screen - select top ... same size ....
second screen - select whatever you like but for this glitter name I have selected opaque and clicked on the colour box and made sure I selected white ...... OK so far?
next screen - just leave it as it is ...
next screen - click yes and select your speed .. for this I selected 13 - again you can play with this setting
next screen you can browse and add your 3 png files you have saved from PSP
next screen just click FINISH
yay yay you have done it ...
this is what you will see
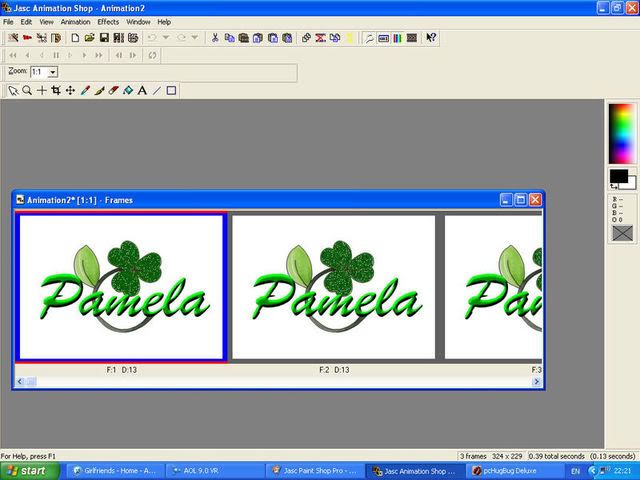
to see your glitter name click on VIEW tab up top then view animation ....
you see it - and hopefully like it - if not you can adjust the speed and size here but I will spare you those details until you master how to animate ...
Now to save ...... go into file menu and click save as - just follow the three screens that come up each time clicking next - and of course give your glitter a name.
So here you have learned two techniques - one is how do make some text 3d, the second is how to glitter an image. Hopefully with this tutorial you can figure out how to glitter other things ...
for glittering test - you apply the same method by selecting you materials as I have noted above, except you dont do the 3D bevel before hand.